

Timeless Touch Photography | L.Designs Invitations
Timeless Touch Photography | L.Designs Invitations
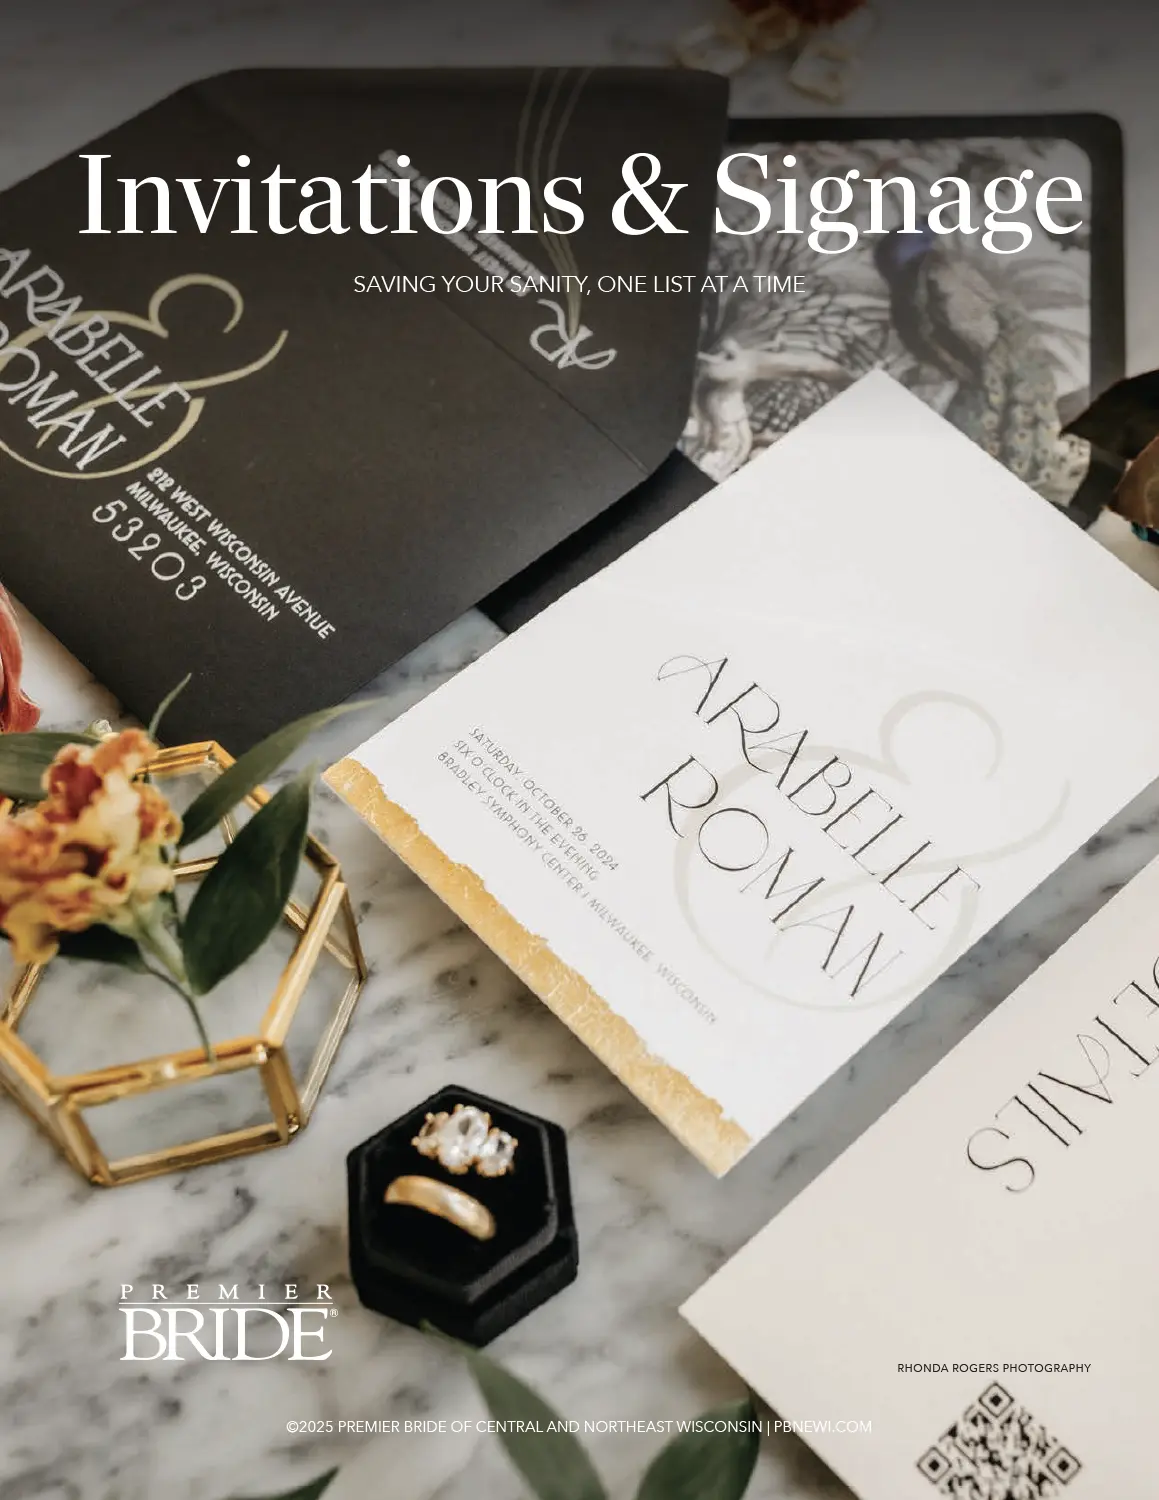
Invitations
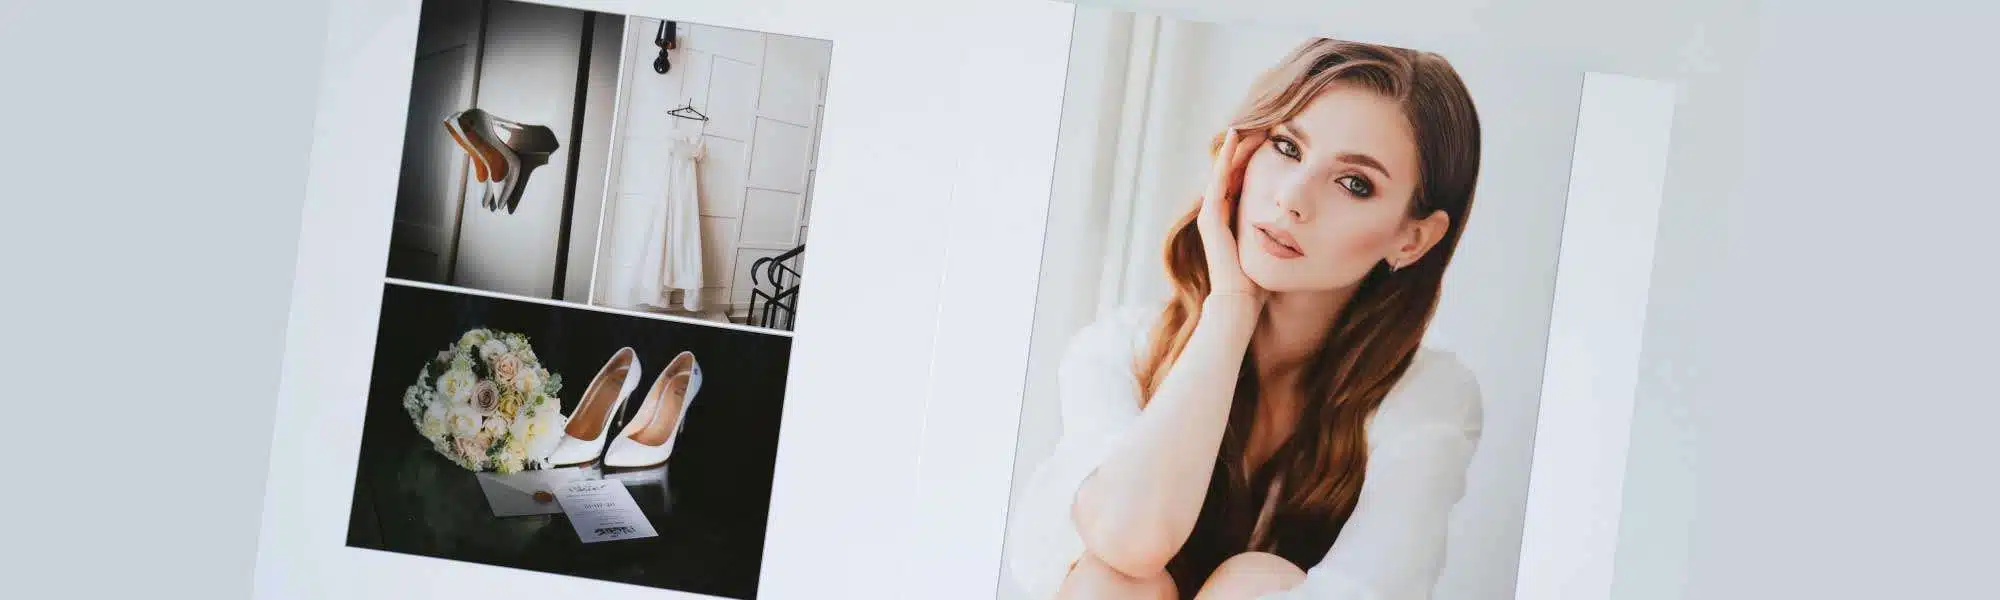
The First Impression
Invitations seem like such a basic item but there’s a lot that goes into them and a lot that comes out of them! Invitations set the stage and build excitement, offering guests a peek at your wedding’s style. With creativity and proper etiquette, your invites will give a great first impression.
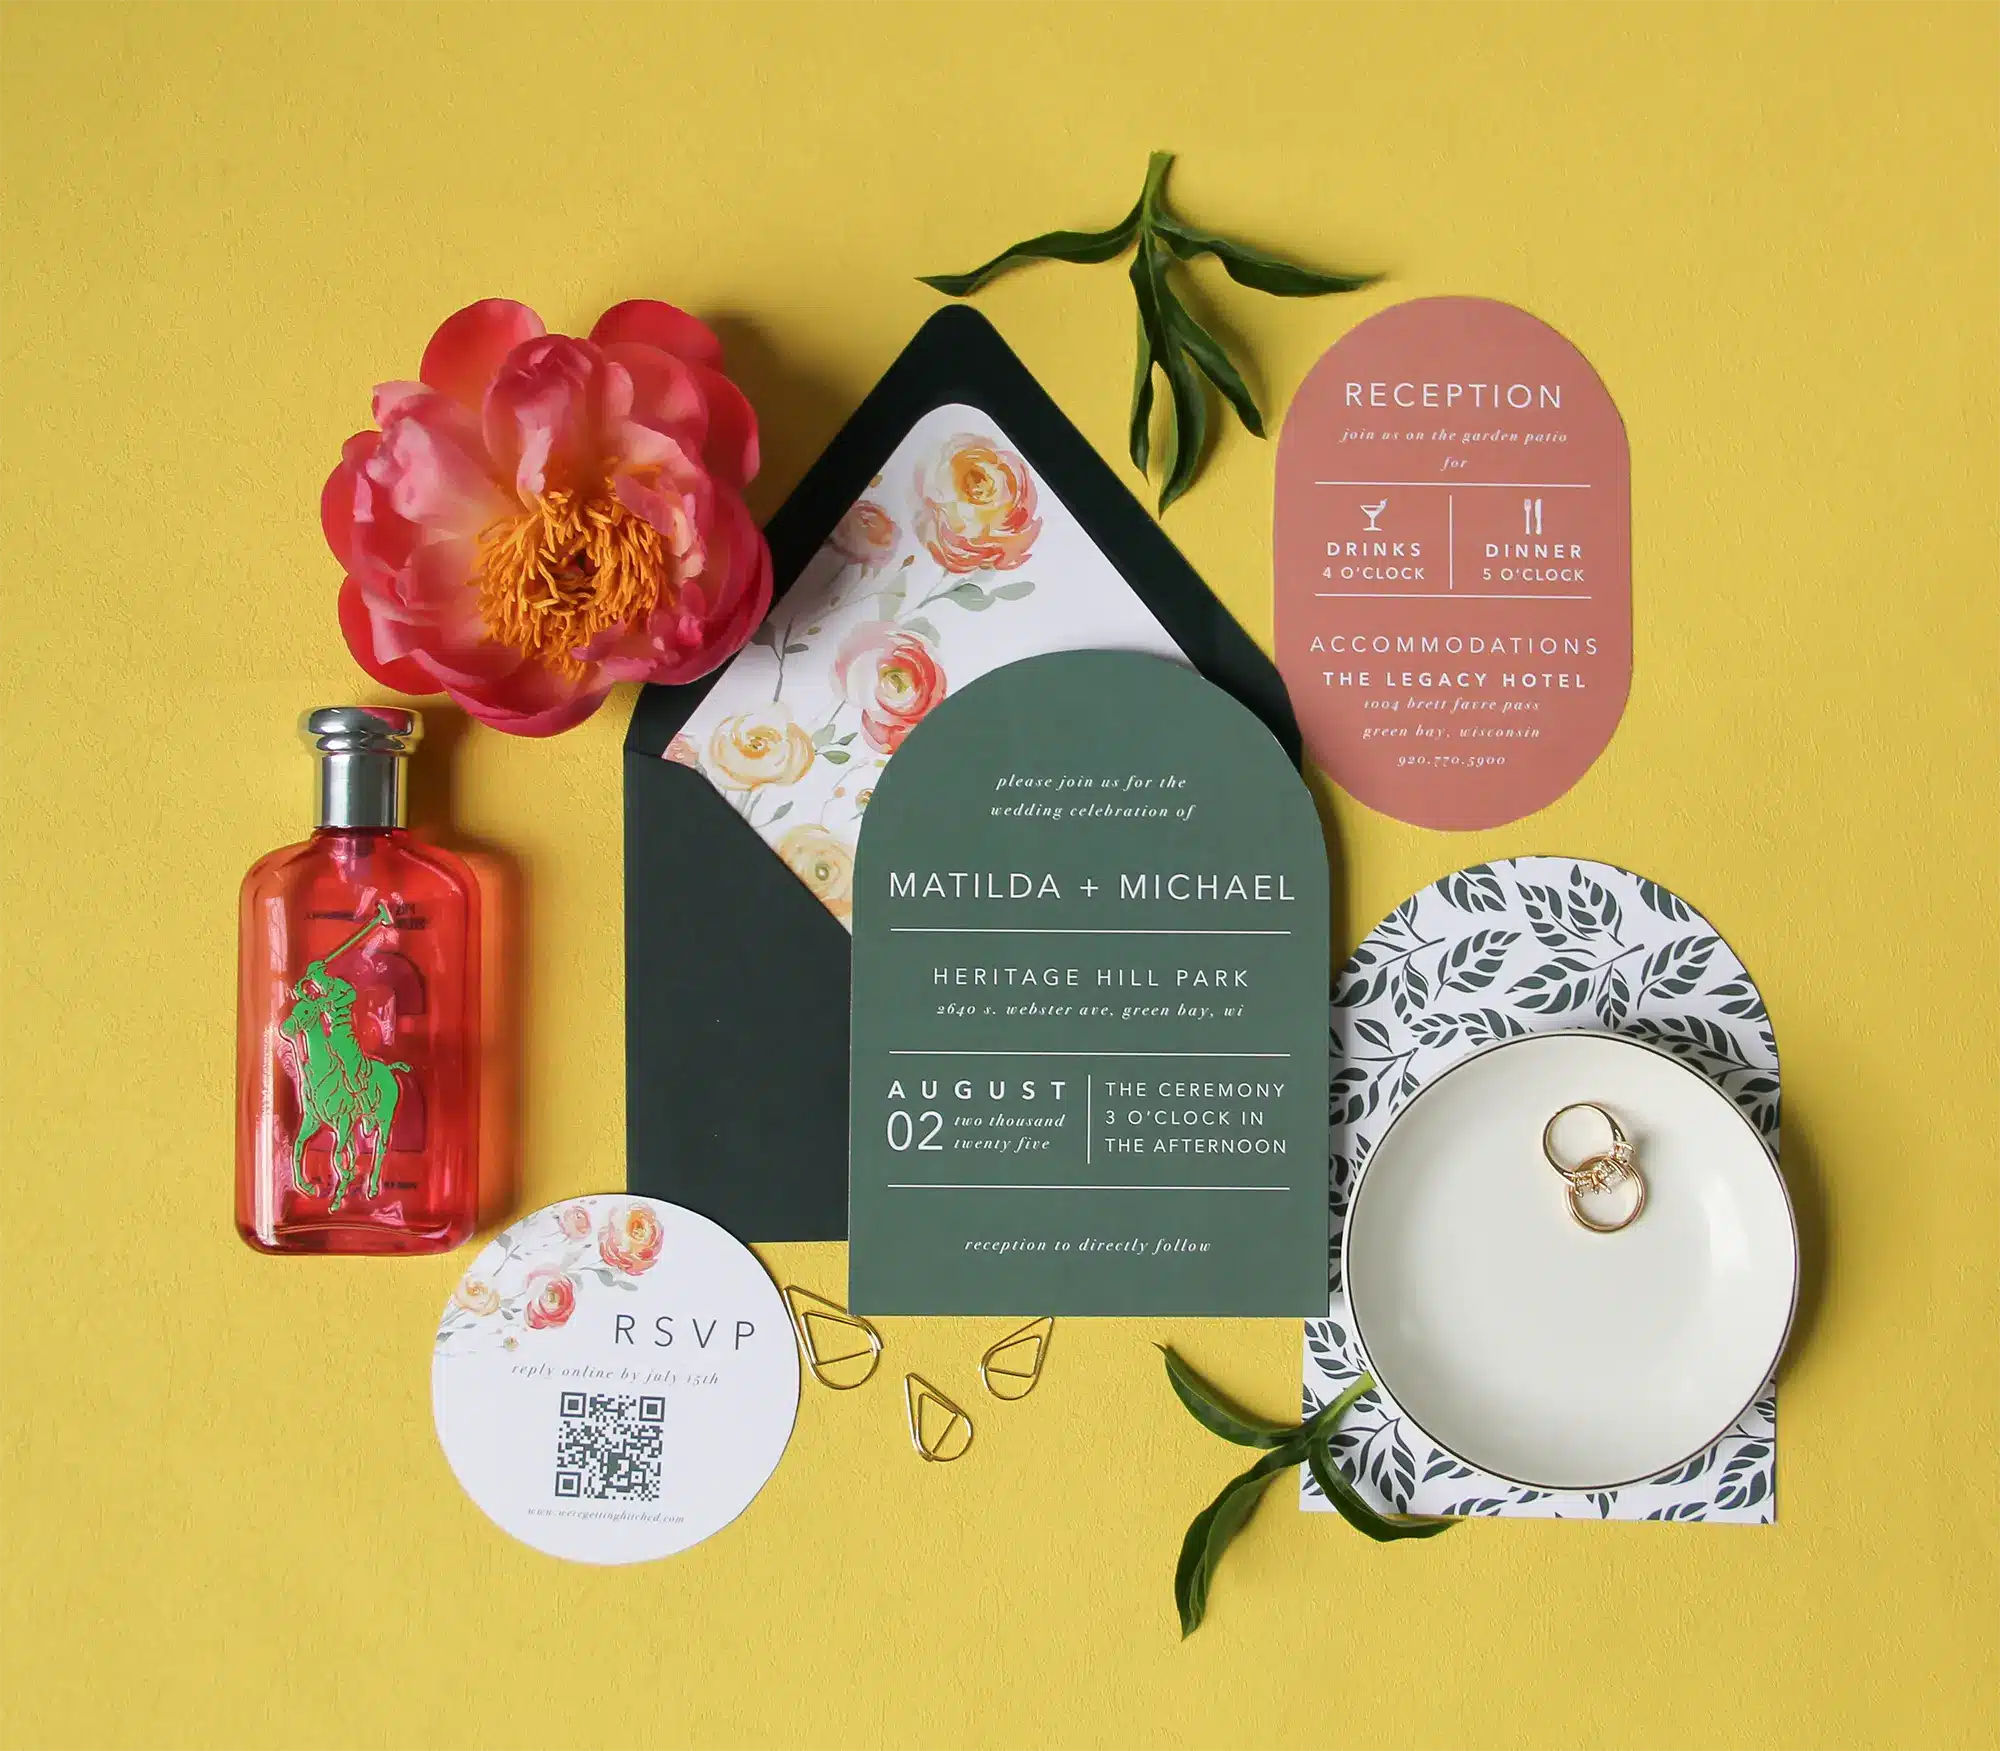
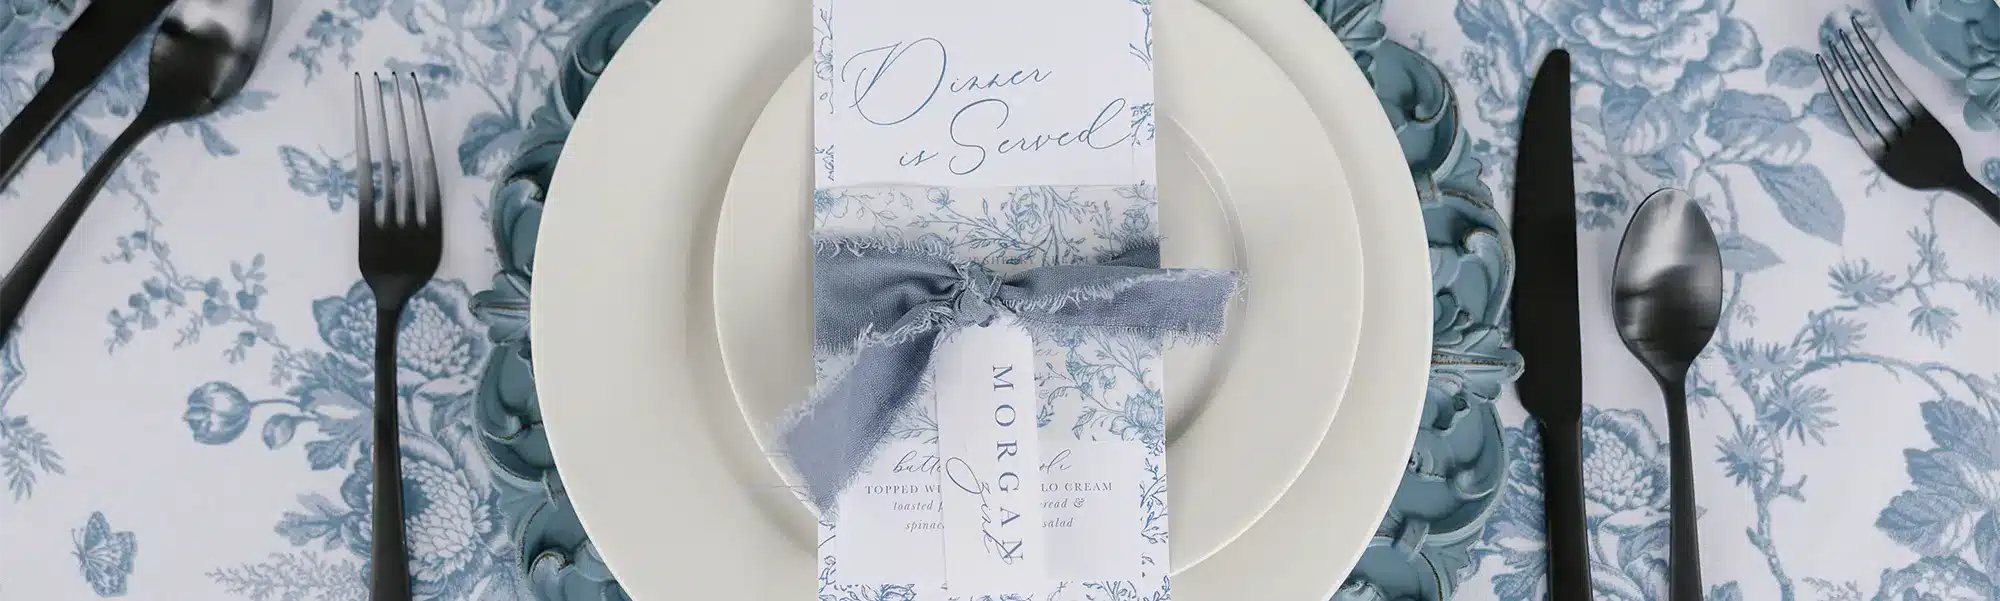
Wedding Invitation Suite
Traditional wedding invitations include so many tiny etiquette details from how to address each envelope to arranging the many parts and pieces. To keep it all straight, it’s best to find a qualified local professional to act as your go-to person for all paper goods and etiquette questions. If you choose to purchase invitations online, go with a reputable retailer. When possible, give yourself extra time in case there are any problems that require shipping back and forth. It’s also smart to test-drive an online retailer. Contact them via email and call the customer service center to gauge the timeliness and quality of their response, and of course, ask for paper samples before ordering all your invitations.
The sooner you start on invitations the more time you’ll have to research and thoroughly evaluate options. Before you can begin to choose a style of invitation, it’s crucial to know some of the broad themes of your wedding: casual vs. formal, bold colors vs. soft hues, rustic vs. black tie, etc. Knowing these key details will help you find or create invitations to reflect the style of your day.
If possible, order invitations and other wedding stationery six or more months before the big day to give yourself plenty of time for proofreading, printing, addressing and envelope stuffing. Formal invitations should be sent six to eight weeks before the wedding with save-the-dates going out months in advance. Save-the-date cards, or even an in-formal conversation with your guests, are especially important for out-of-town guests. Plenty of advance notice gives traveling guests enough time to book flights and lodging with some flexibility.

Macy Roth Artistry | L.Designs Invitations | Brushstrokes & Bubbly

Lusia Studio Photography | L.Designs Invitations
Creative Thinking
While formal invitations, complete with calligraphy and foil-lined envelopes are never out of style, the breadth of invite design options has grown immensely. The use of watercolor and illustrated elements is also growing to such an extent that many stationery companies now have a resident artist to accommodate those personalized, handmade touches. Beyond formal calligraphy, you might choose whimsical hand-lettering or even white ink on dark envelopes. Dress up your invites with a belt or sash wrapped around the middle. Hand-drawn embellishments, a chalkboard look, and vintage-inspired designs are also lovely if they work with the style of your wedding.
Paper Parts and Pieces
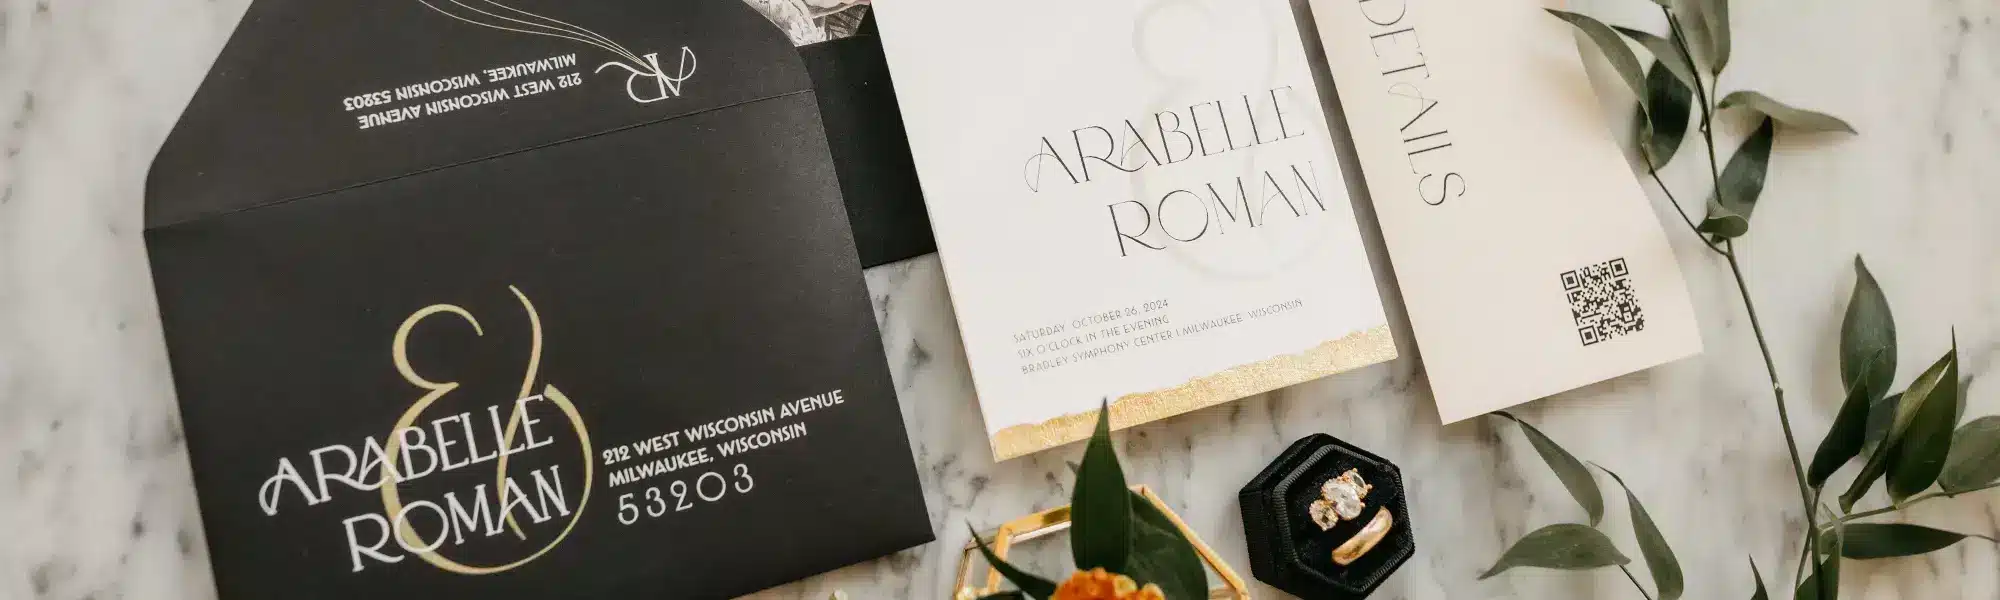
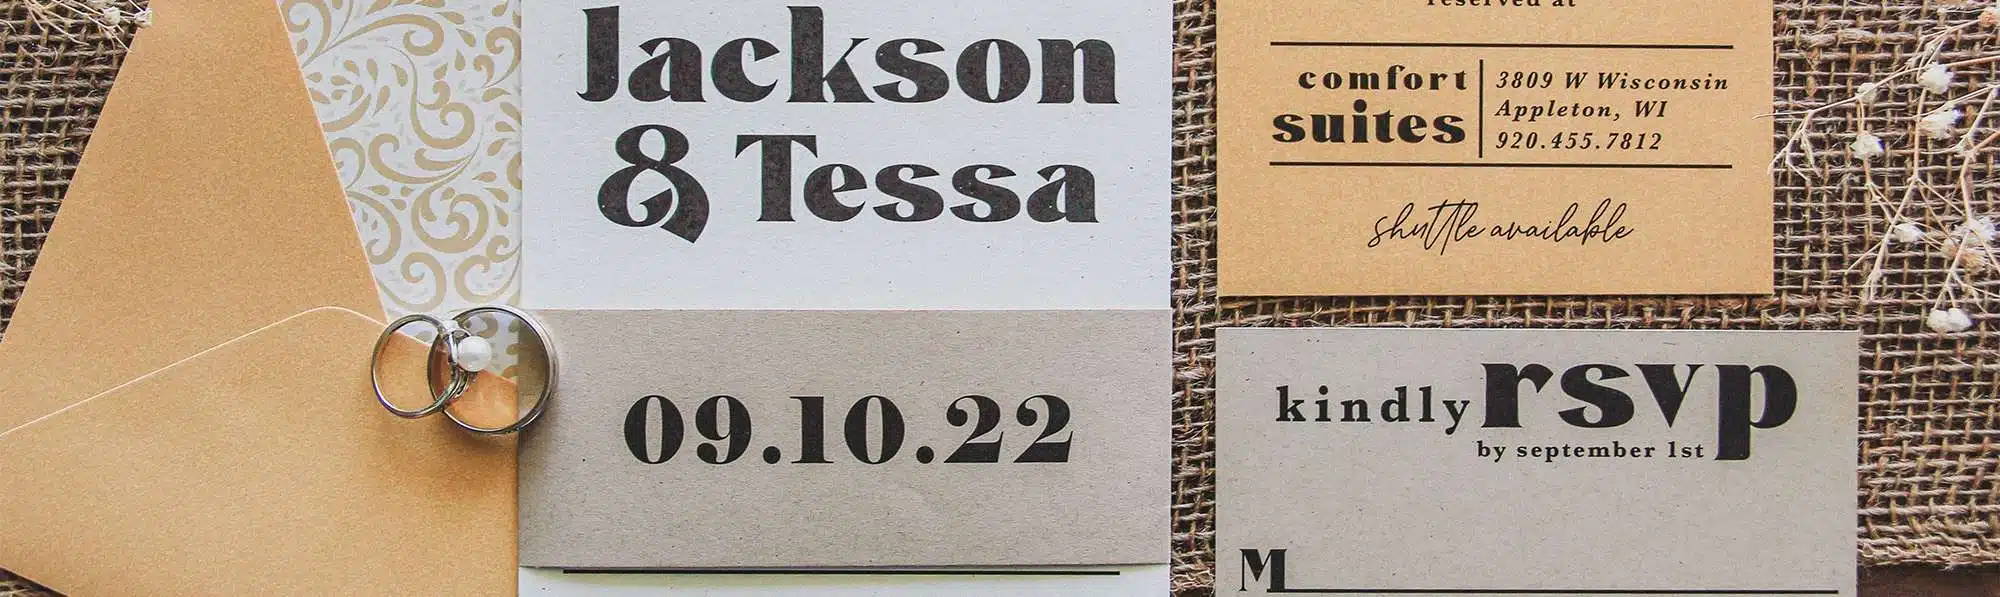
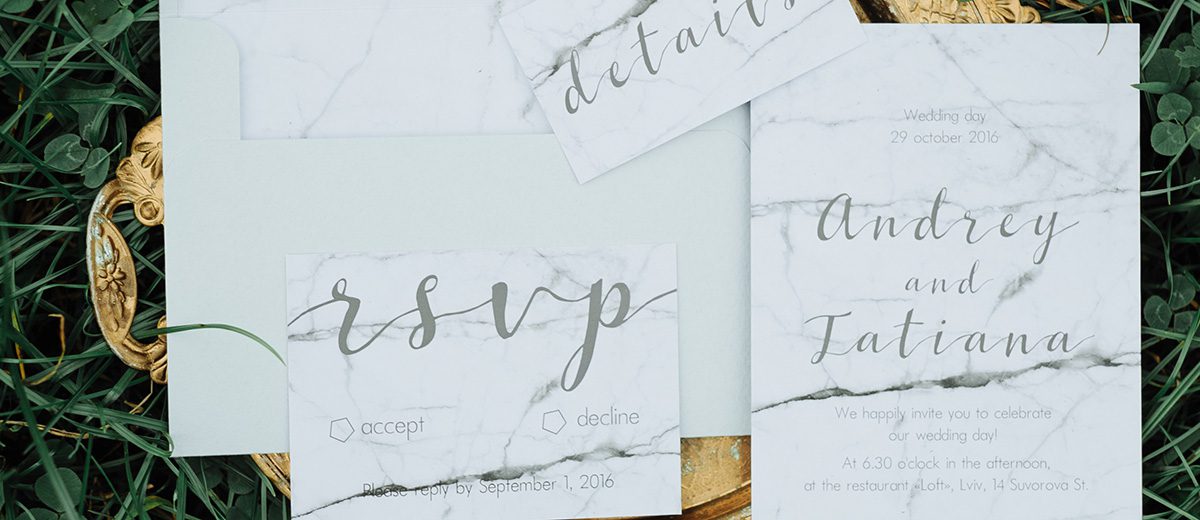
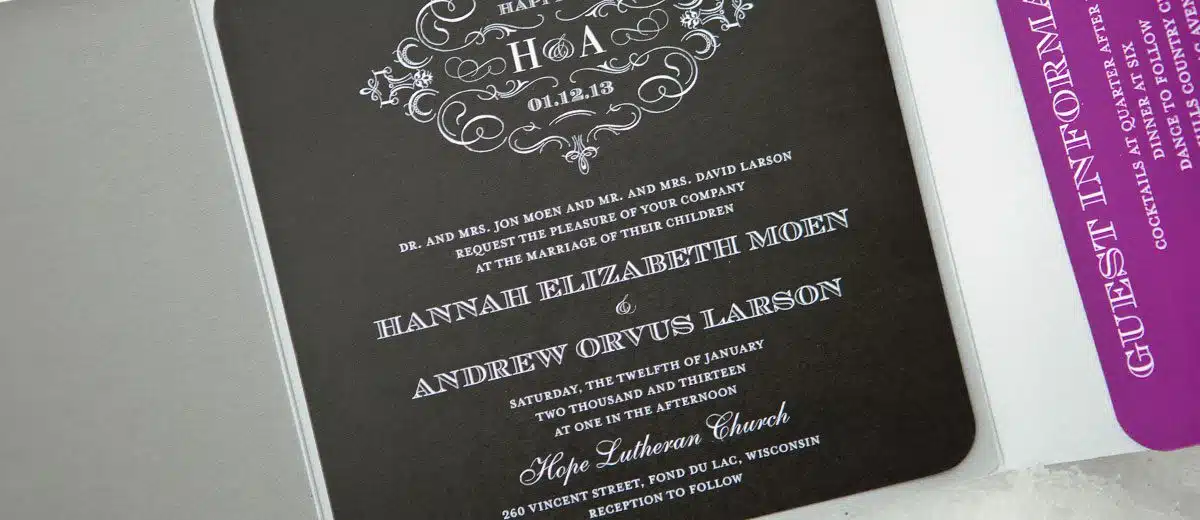
Wedding invitation suites typically consist of several parts: a ceremony card with the details of the ceremony (traditionally with a layer of tissue paper on top), a reception card explaining reception details, a response card with its stamped/addressed envelope (yes, it’s proper etiquette to provide return postage), a map or some other card with directions to the ceremony/reception and hotel information for out-of-town guests, and an inner and outer envelope. The rules aren’t hard and fast, however, you can combine information on a single card, omit the tissue paper, or really think outside the box with your design if that suits the style of your wedding day. For example, your response card might be a simple postcard.
When it comes time to assemble the pieces, here’s the traditional way. Start with the ceremony invitation on the bottom (covered with tissue, if using), followed by the reception card, and the response card with the unsealed return envelope and map. Slide these items into the inner envelope, but do not seal it. Slide the inner envelope into the outer envelope with the addressee’s name facing the back flap (this way their name will be the first thing they see upon opening the invitation).
Invitation Wording
Traditionally, whoever is hosting (read: paying for) the wedding will be listed first on the invitation. But it’s best to work this out on a case-by-case basis with open communication between the couple, the bride’s parents, and the groom’s parents. Some couples today who are paying for the majority of their wedding with help from mixed and blended families simply say, “Mary Bride and John Groom, together with their families, request the honor of your presence at their marriage.” An experienced professional will be able to assist you more with wording, and online research is also a great way to get the wheels turning.

Macy Roth Artistry L.Designs Invitations

Catia Dombaxe-Unsplash
Addressing Advice
To address the envelopes, you can run them through your printer in a beautiful font, hand-write them yourself, or hire a hand-letterer to do the job for you. Hand lettering gives a beautiful first impression and can even act as a sort of frameable gift to your guests. Avoid using labels at all costs, even clear ones as they just don’t convey an elegance or special-ness that a wedding deserves.
If you want to keep things formal/classic, here are some tips for the etiquette of addresses. Street names, cities, and states should be written out completely (no abbreviations). To address a married couple, use “Mr. and Mrs. Tom Smith.” For an unmarried couple living together, use “Mr. Tom Smith and Miss Judy Jones.” If every member of the family is invited, use “Mr. and Mrs. Tom Smith & Family.” If only older children are invited, write their names under the parents’ names, such as, “Miss Jane Smith.” Adult children no longer living with their parents should receive their own invitation. If you don’t want young children at your reception, politely say “adults only” somewhere in the invite and confirm this fact when you talk to your guests before the wedding.
Include your return address on the back of the envelope. Placing it on the back is less crowded and leaves room for the guest’s address to shine on the front. You can handwrite your return address, or in this case, printed labels are an acceptable shortcut. You’ll also want to make sure that the return address matches the primary host. If Mary Bride and John Groom are hosting (paying for) the bulk of the wedding, you’ll see their return address on the back. If Mary’s parents are hosting, you’ll see her parents’ names/address on the back.
Stamp Stuff
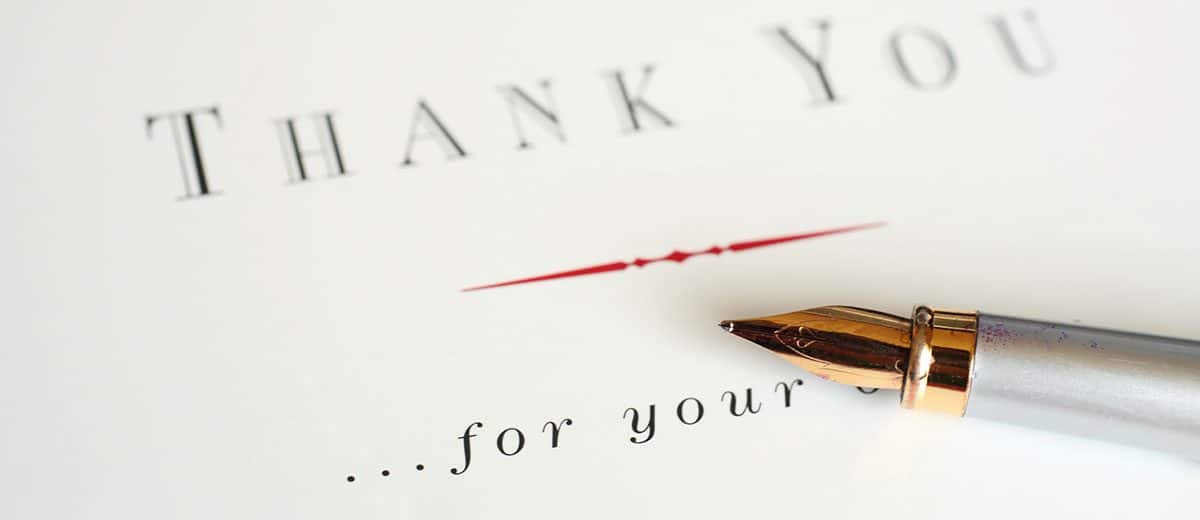
One last critical tip: Before you send all your invites, take one to the post office. Have it weighed to confirm the postage cost in case it weighs more than the normal envelope or is an odd shape. The last thing you want is for all your invitations to be returned as “insufficient postage!” so stop at the post office, make absolutely sure all is right with your stamps, pop those gorgeous invitations in the mail, and take a deep breath. Your wedding is officially underway!

Fiona Murray Degraaff
Creating Wedding Invitations to Remember. L.designs creates custom suites that feel fresh, personal, and effortlessly chic.
Make sure you start shopping for a invitations armed with the right questions to ask! Use this list as a guide and a place to take notes! Download our full planner for even more.
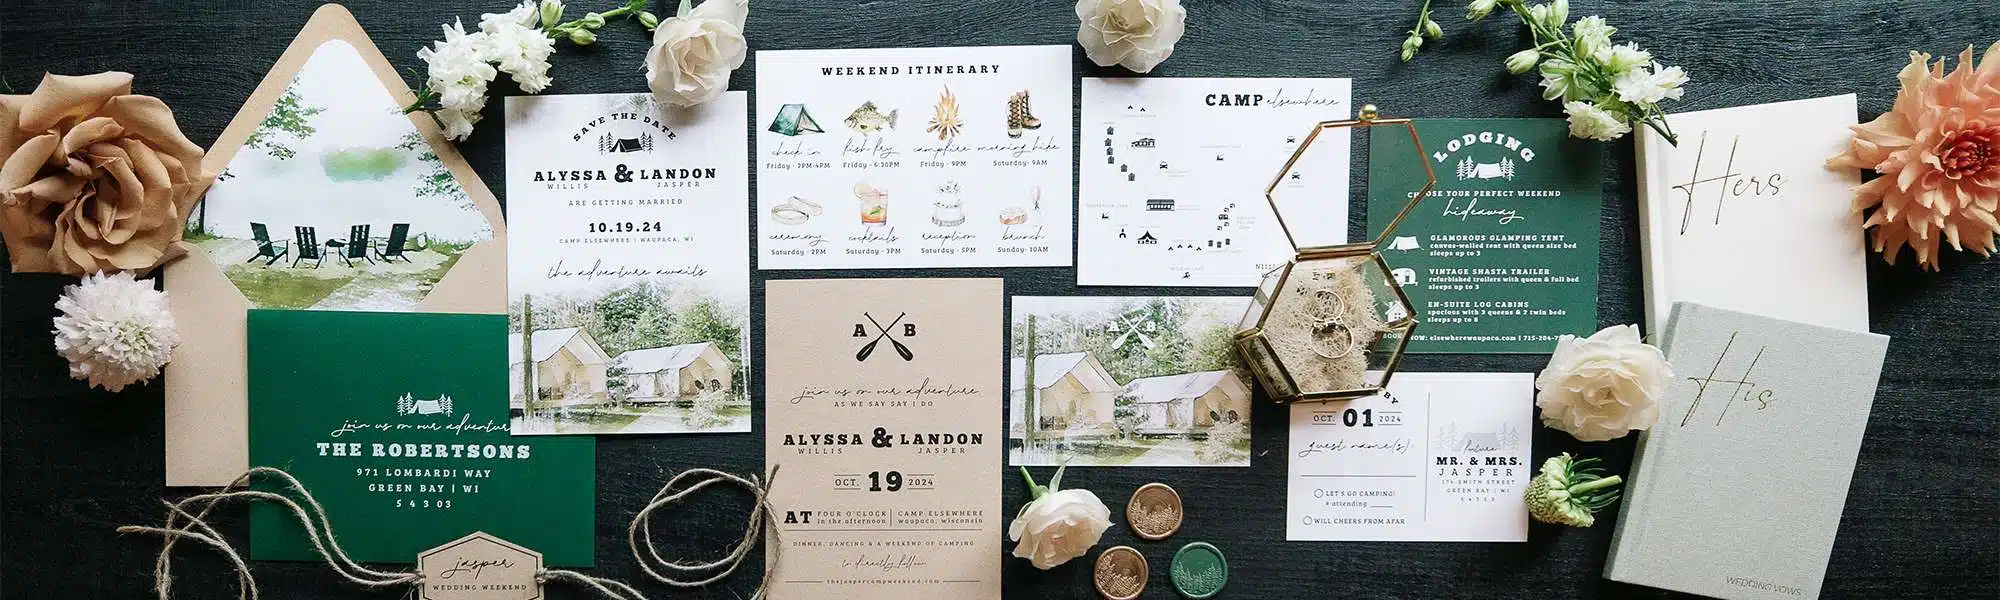
For our latest styled shoot, we collaborated with Laura Robertson from L.Designs to create a "vintage camp" themed wedding invitation suite . Read on to learn more about her design process!
Laura of L.designs focuses her creative energy on the art of printing, envisioning designs and bringing them to life on paper for weddings and more.
From postcards to keepsakes to heirloom-quality gifts, here are six ideas for getting your wedding and engagement photos offline and into the world.
L.designs Invitations created stunning printed goods on gorgeous paper for our Oshkosh styled wedding shoot at the Gibson Club.
Branding is a term mostly identified with business logo design and corporate branding guidelines, but it has quickly become a trend for weddings!
There are many different parts to the overall success of a bride and groom's wedding…but the first impression of what's to come is the most important.
1. Avoid procrastination Consider dedicating a small location in your home or apartment as a pre-stocked area that you can easily and quickly write your ...
You’ve been planning your dream wedding for months, but for your guests, the invitation is their first glimpse of what’s to come. It provides a ...